

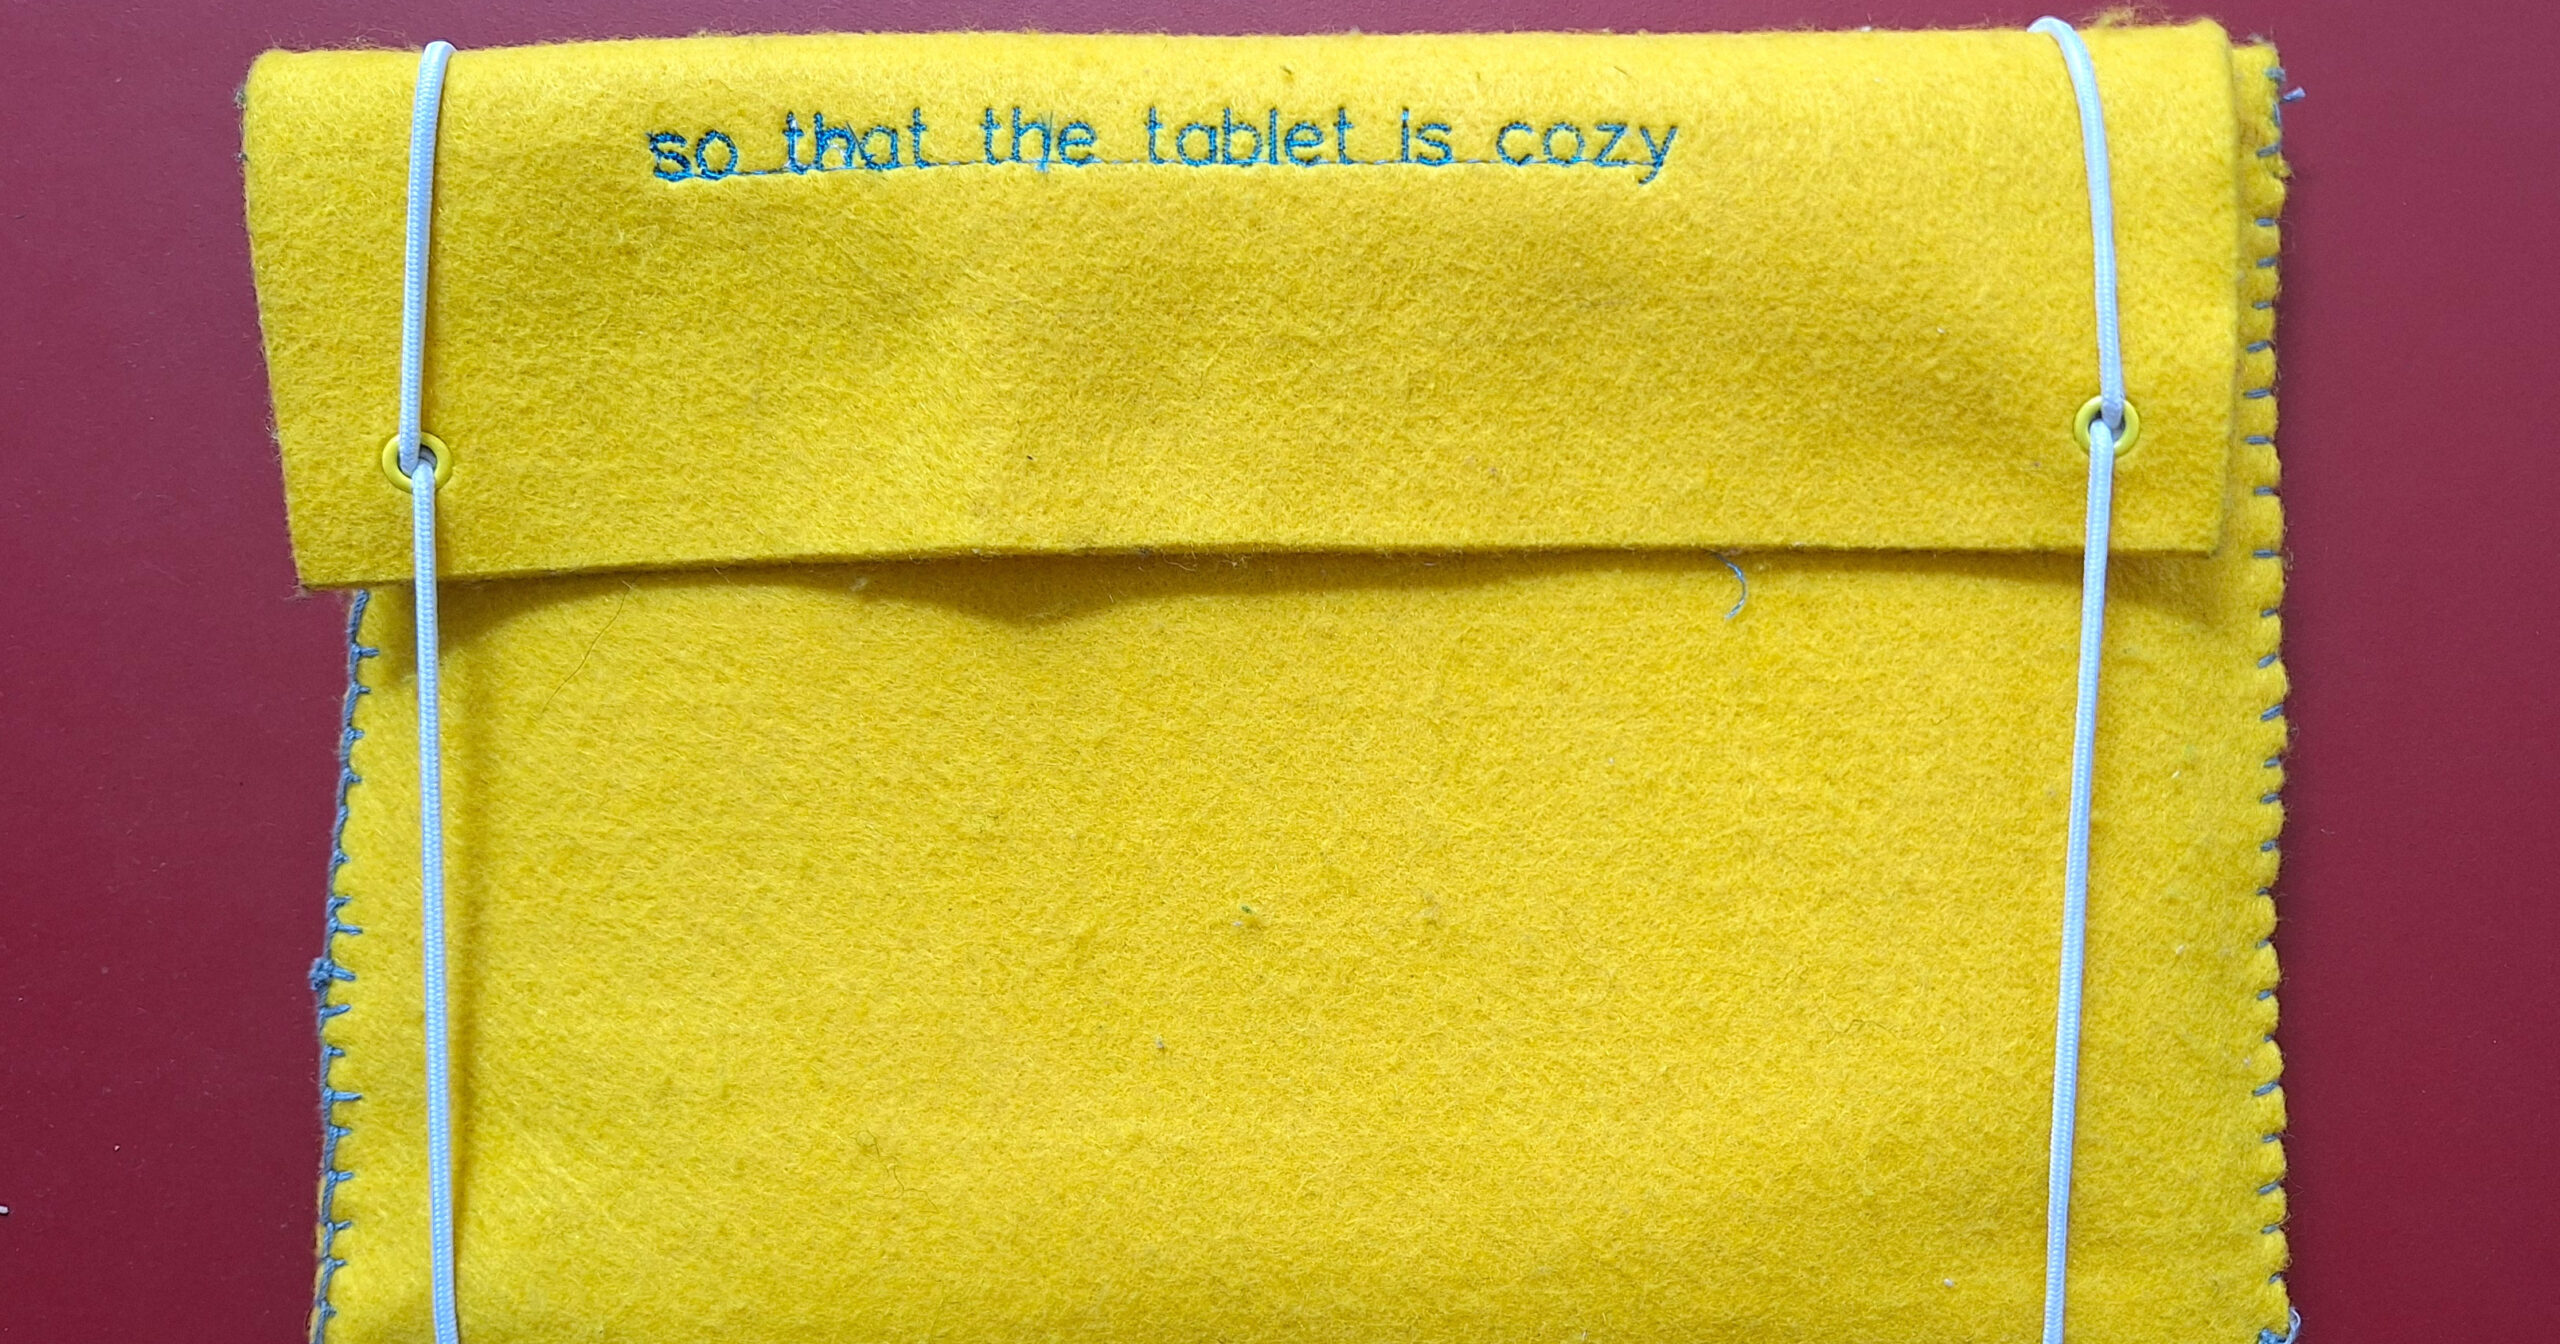
The Felt Tablet Case is a creative and functional design that combines the practicability and functionality of felt with creating a motive with TurtleStitch. The soft, durable fabric provides a protective barrier for your tablet, the implementation of TurtleStich is adding a unique and personalized touch to each case.
Required Materials
- Felt (min. 72 cm wide) 2-3mm
- 40 cm elastic band
- 2 eyelets
- Wool / pearl yarn
Tools
- rotary cutter
- scissors
- hand sewing needle
- Measuring tape or ruler
- clips (or large paper clips)
- Tailor’s chalk
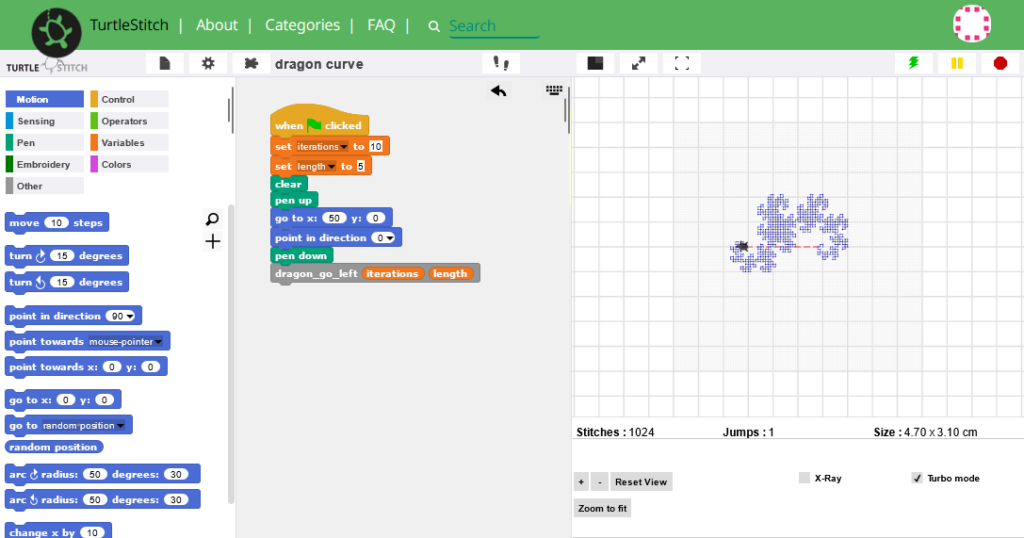
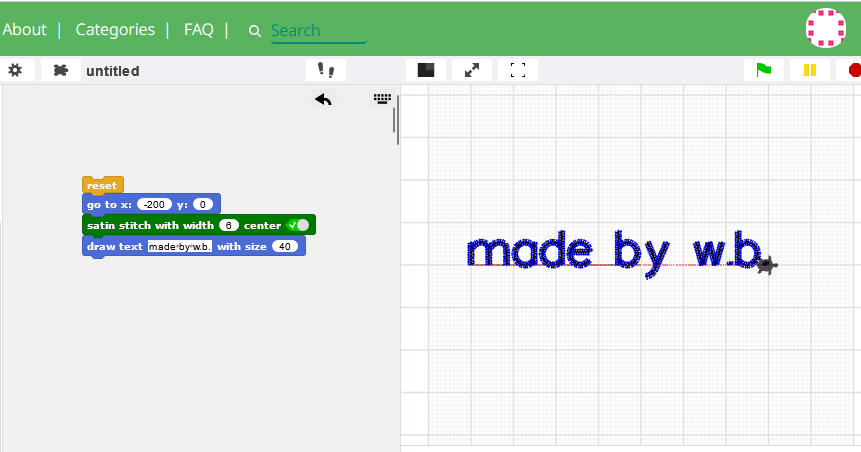
Turtlestitch: personalize with your design as desired.
The design process begins by creating your personal design using TurtleStitch software. This could include anything from geometric shapes and patterns to drawings or text (e.g., your initials) that will be stitched onto the felt. Plan carefully where the design will be positioned on the case and stitch it before cutting the felt. A paper prototype with notes indicating where the stitched design should go can be helpful for visualizing the final product.
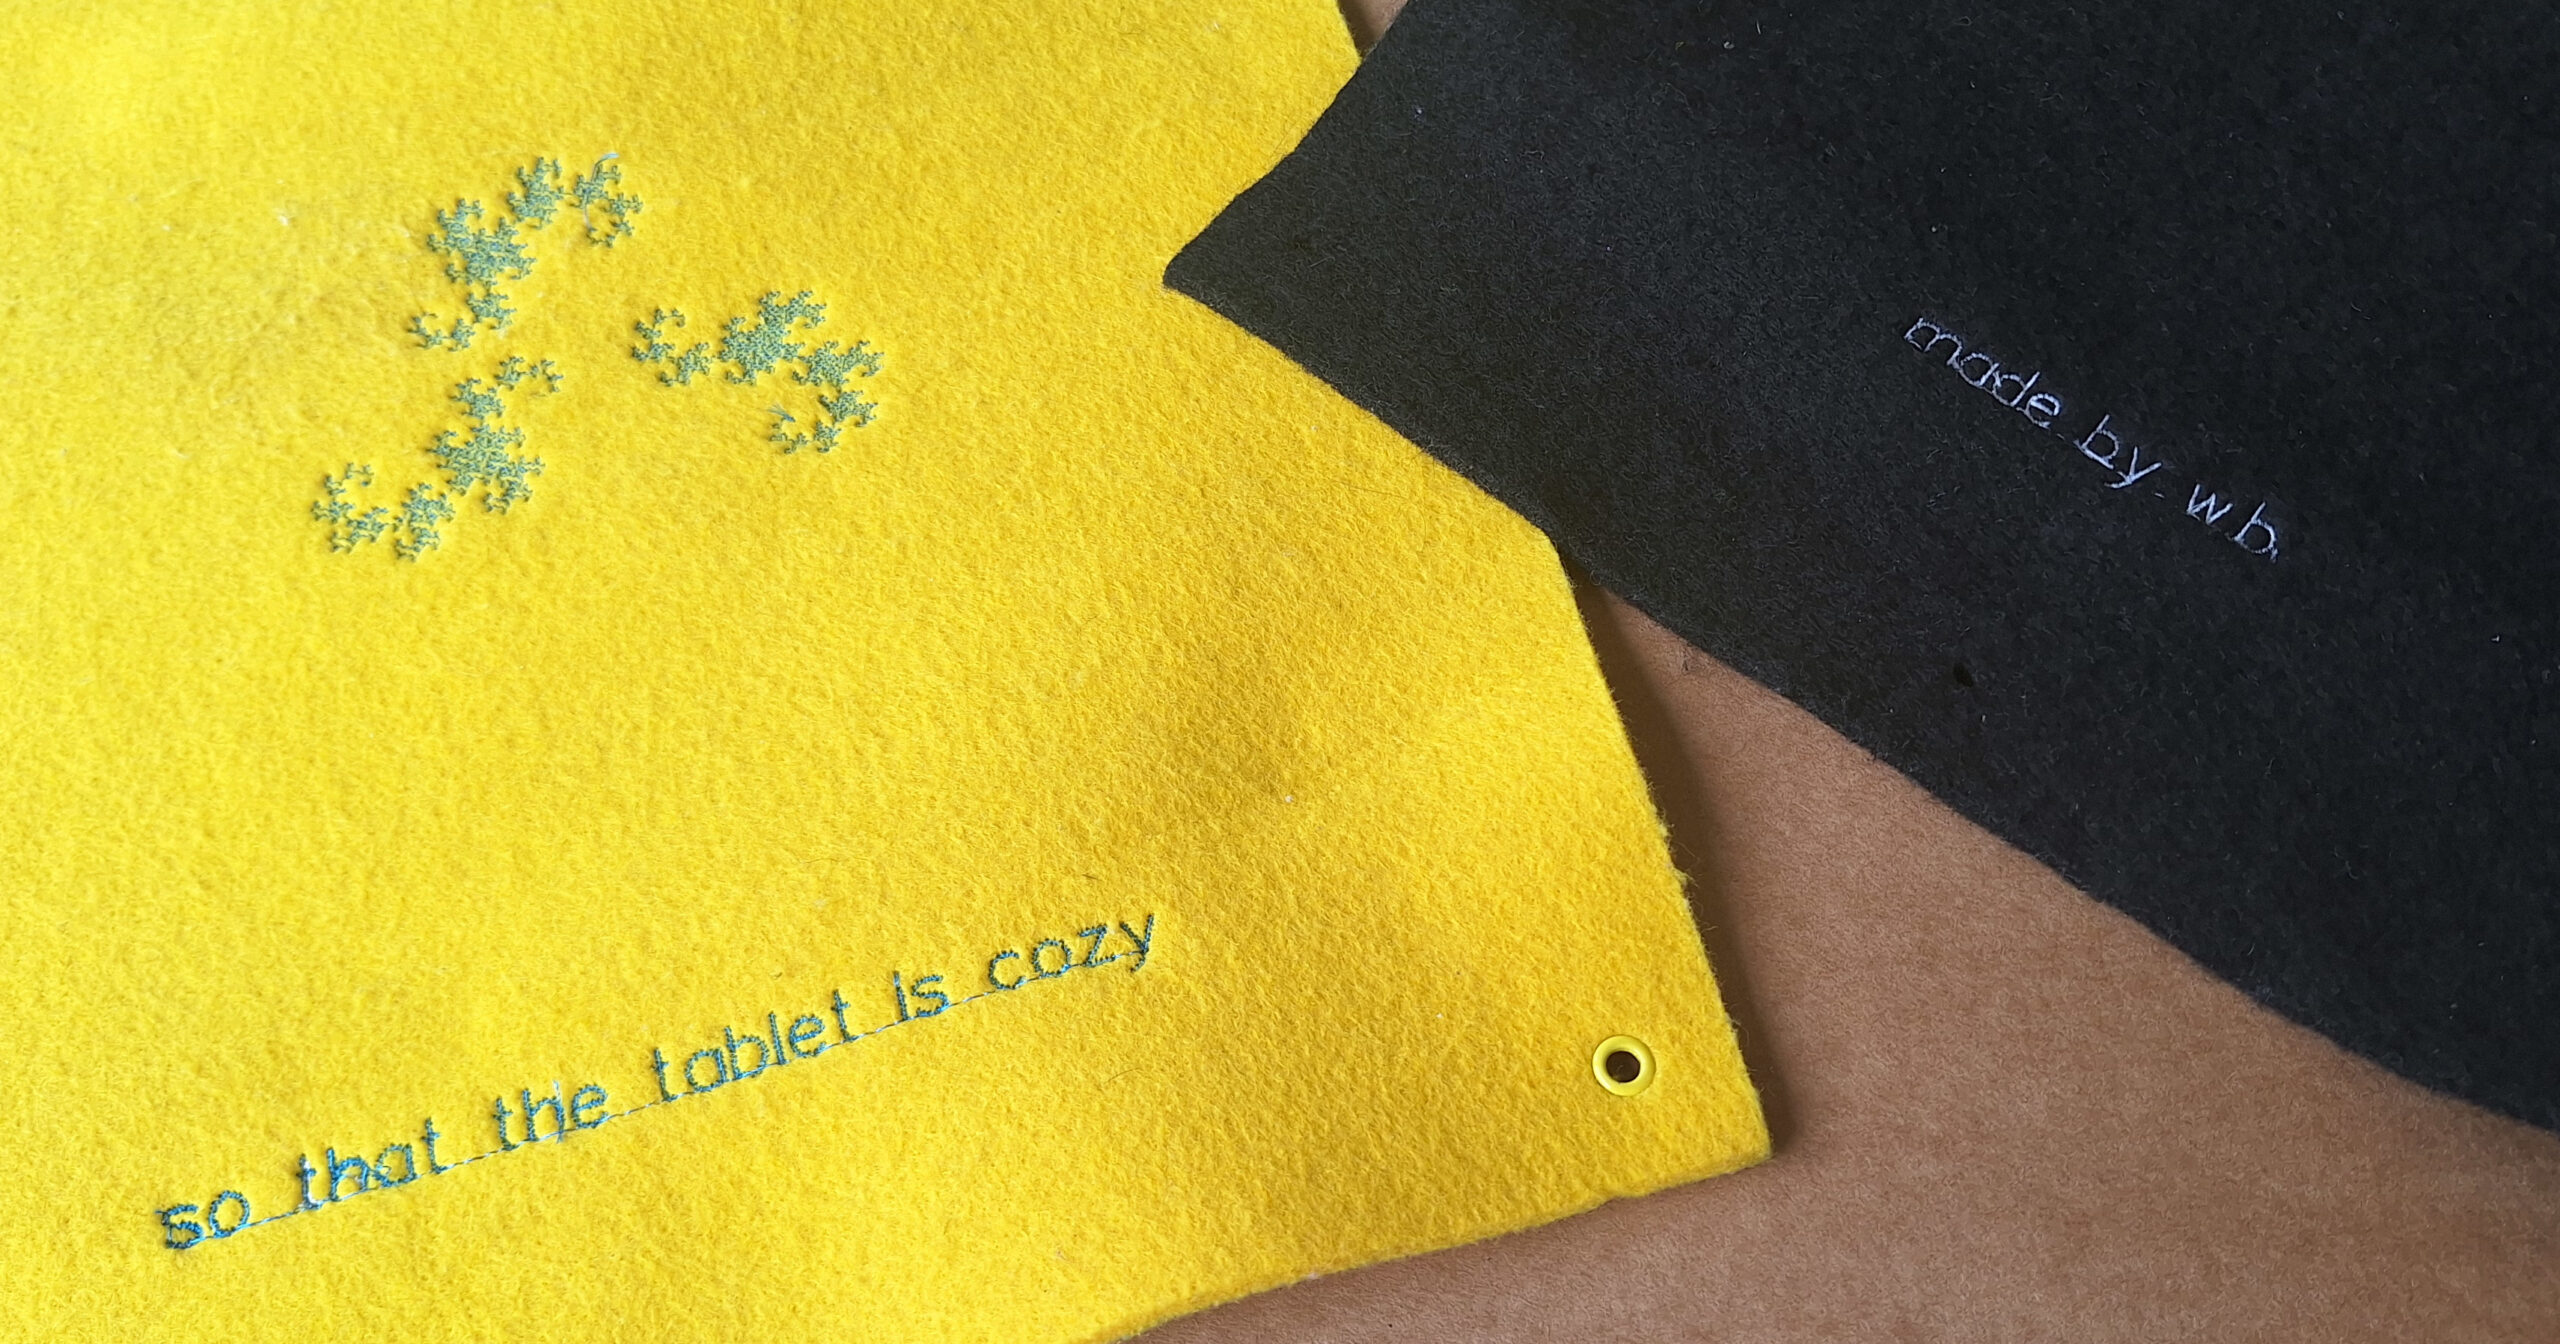
Once the design is stitched onto the felt in the desired location, the felt is cut and folded.
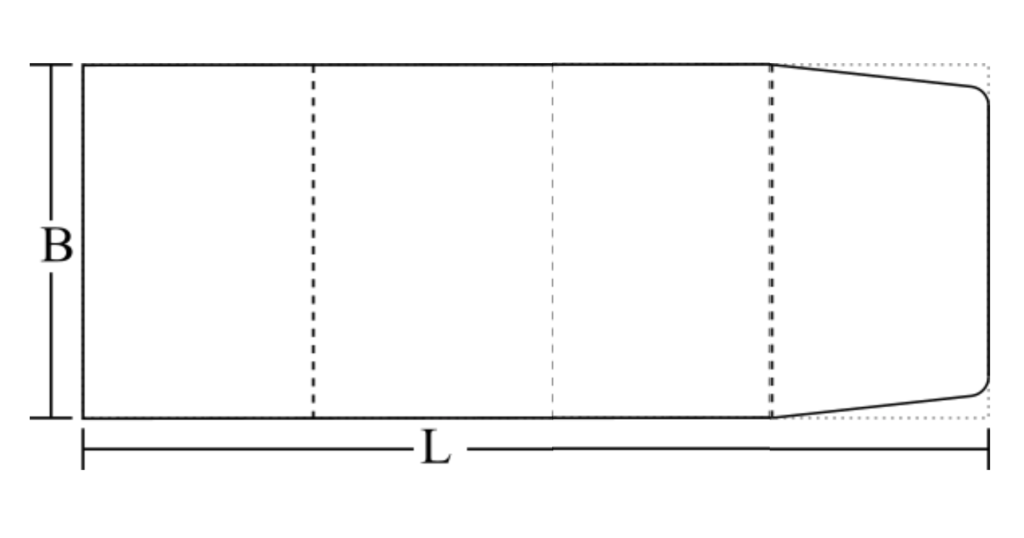
Schematic drawing for cutting the felt
First cut the felt to size using the cardboard as a template. The Length and the width of the case can vary depending on the size for the tablet. Length of the rectangle (L) = 3 x short side of the tablet with keyboard (3 x e.g. 19 cm) + 3 x thickness (3x 2 cm) + space for pen (2 cm) + overlap (7-10 cm) = 72 to 75 cm Width of the rectangle (B) = long side of the tablet (e.g. 25cm) + 2 x the thickness (2x2cm) + 2 x seam allowance 2cm = 31cm
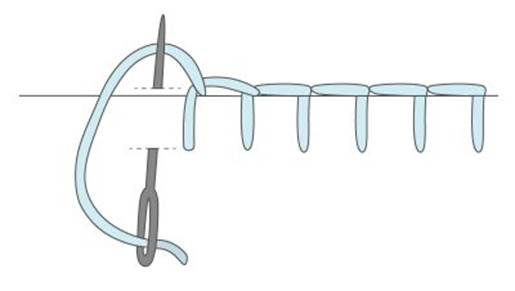
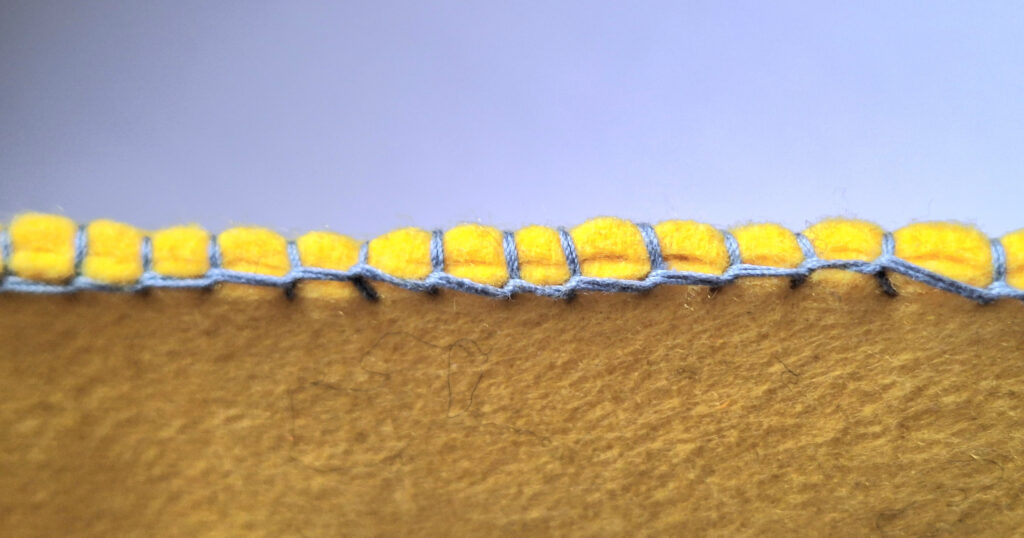
Assembling the Case and sewn to create a protective case for the tablet. You can further customize the case with features such as a closure (e.g., an elastic fabric band).
Sewing together the two sides with an overcast stitch: Fold the felt together once at 20cm on the long side and sew together there using a overcast stitch (illustration on the right ). Sew well at the beginning and end.
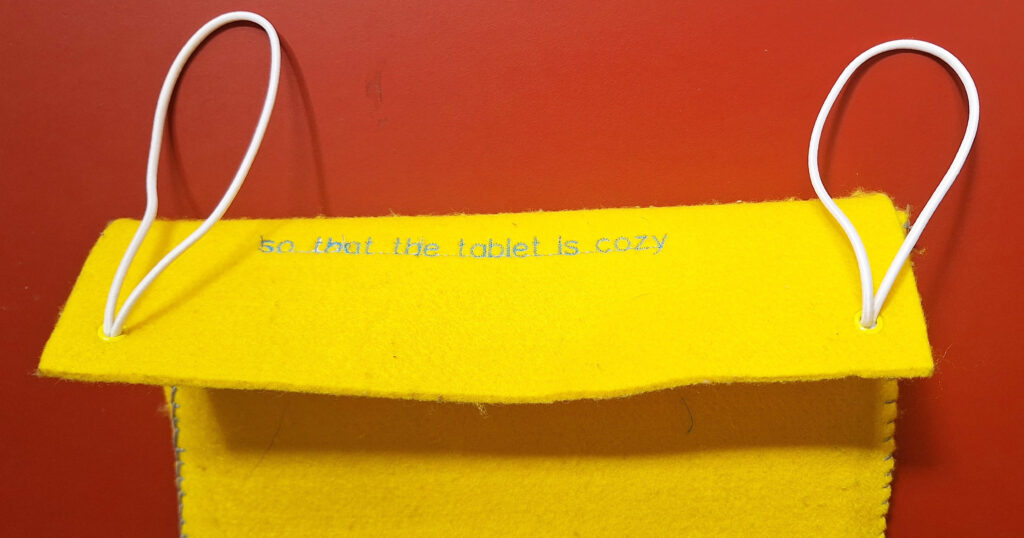
Punch 2 holes at the other end (overlap) with hole punch pliers and attach eyelets. Thread a 30 cm long elastic (loop with knot) through each of these eyelets.
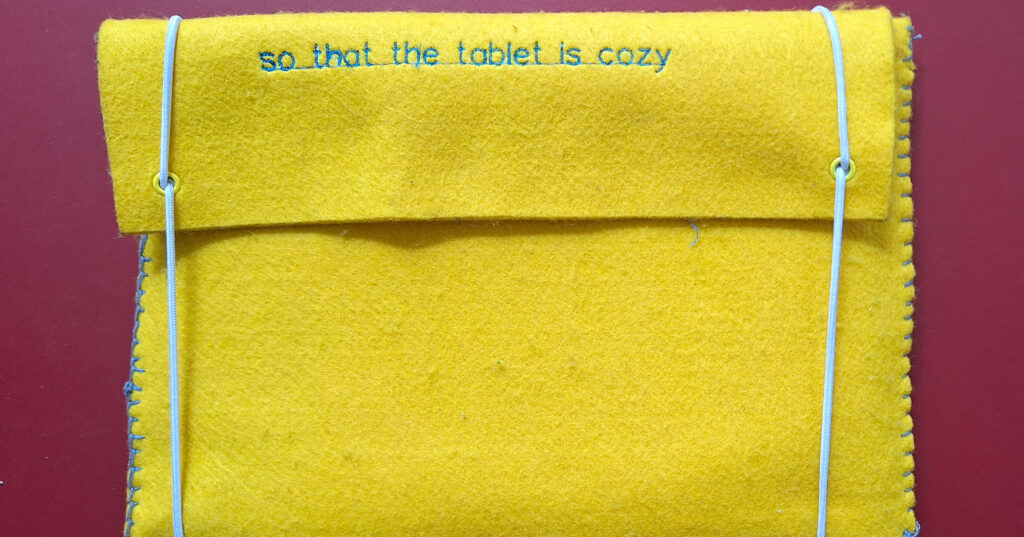
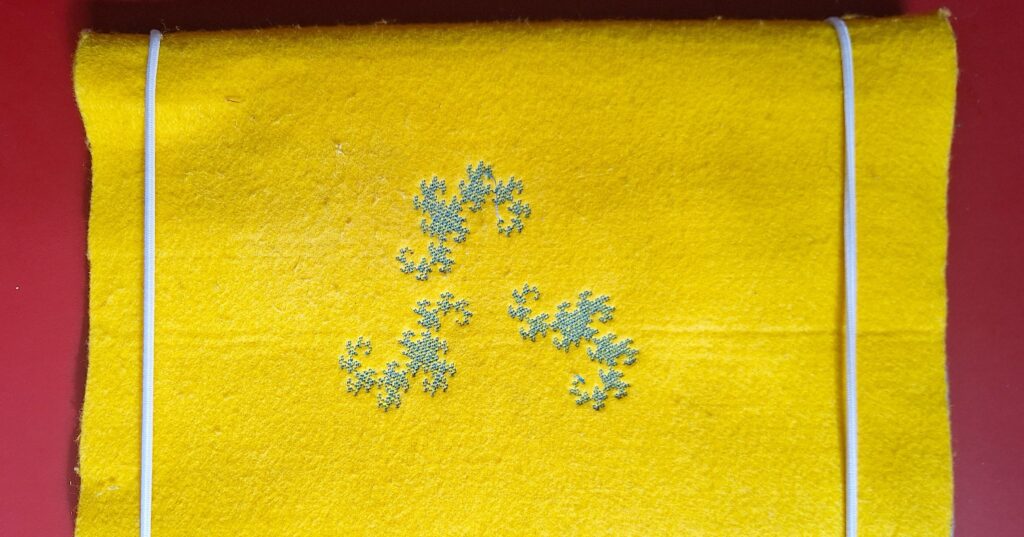
Congrats! You’ve finished sewing your tablet case!
More examples of designs:
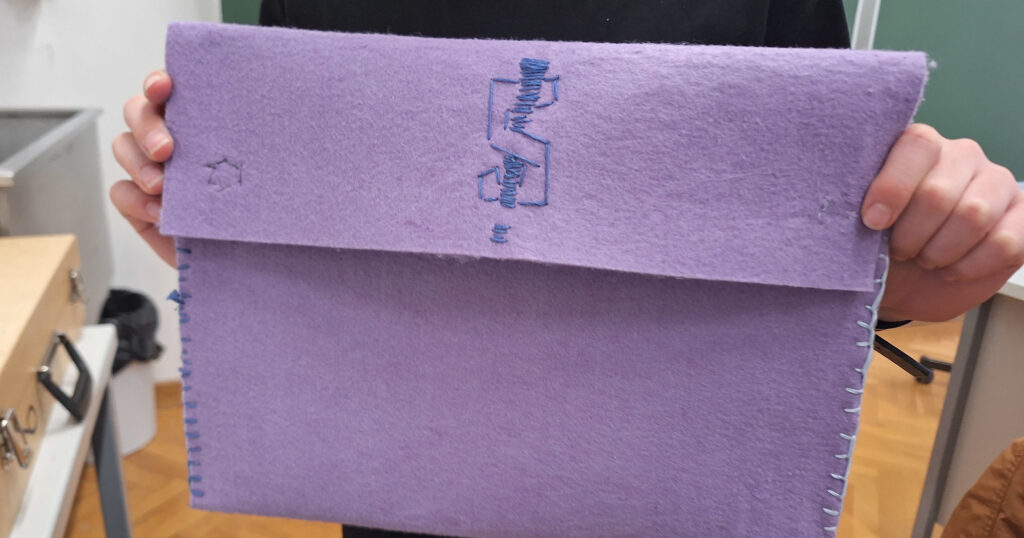
Case with hand-stitched motive
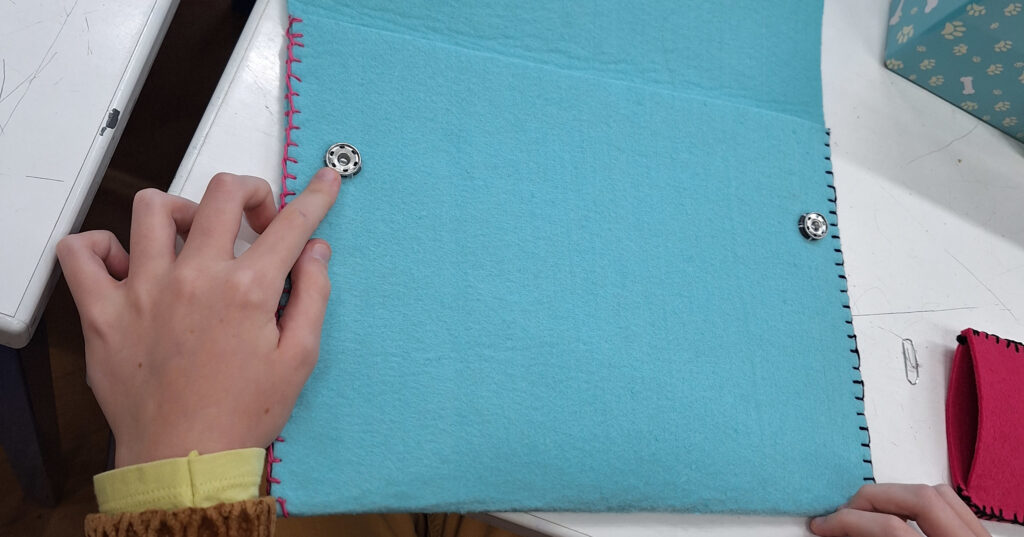
Alternative closure with snap fasteners
Leave a Reply