

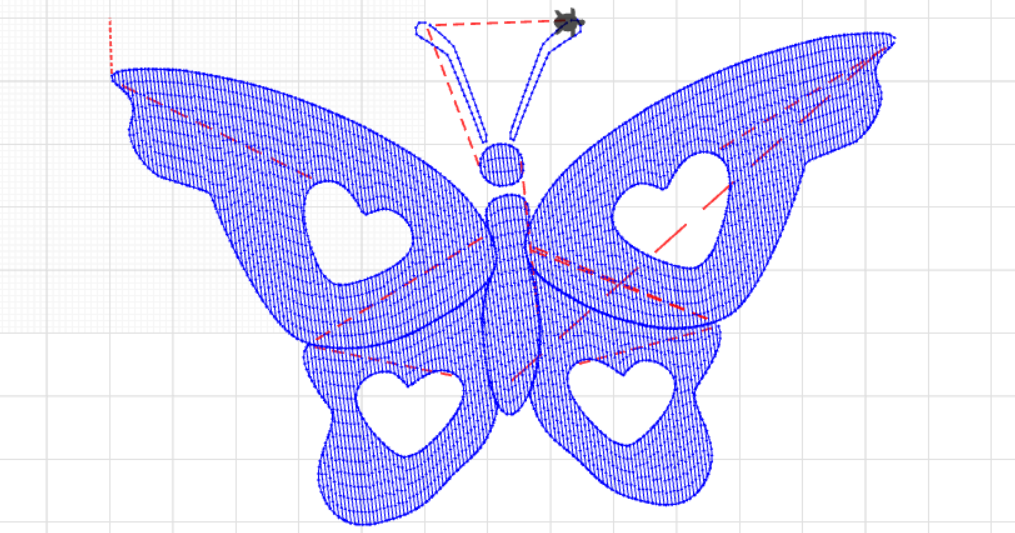
This blog post is a reference to user Konki’s description of how to import an SVG in TurtleStitch. The program he wrote, an SVG-to-TurtleStitch converter, is combined with Simon Mong’s filling algorithm. This is a first test with a newly created SVG file that was drawn in Figma. It is important that the paths in the SVG are clean (first point matches the last) and separated into different layers, all combined into one group. Konki’s detailed describtion can be found here.
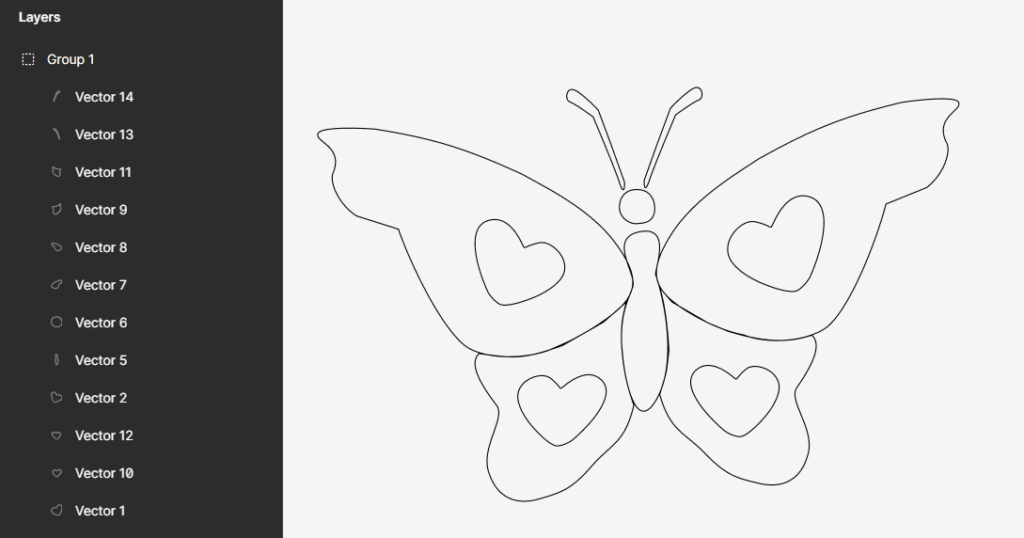
SVG design drawn in Figma
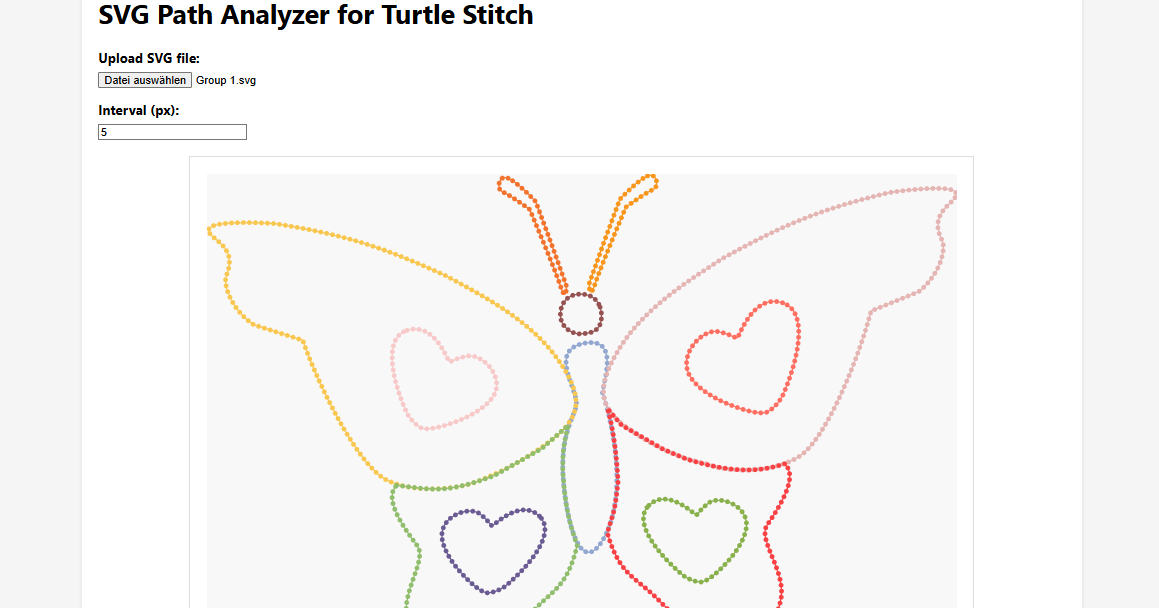
SVG Path Analyzer for TurtleStitch
The TurtleStitch code of this butterfly pattern can be found here.
Konki’s original TurtleStitch code, which you can use as a basis for your own created SVG files, is available here.
After completing your SVG file and loading it into the TurtleStitch code, set the fill density to “2” to achieve a tightly stitched filling in your embroidery pattern, as shown in the picture below.
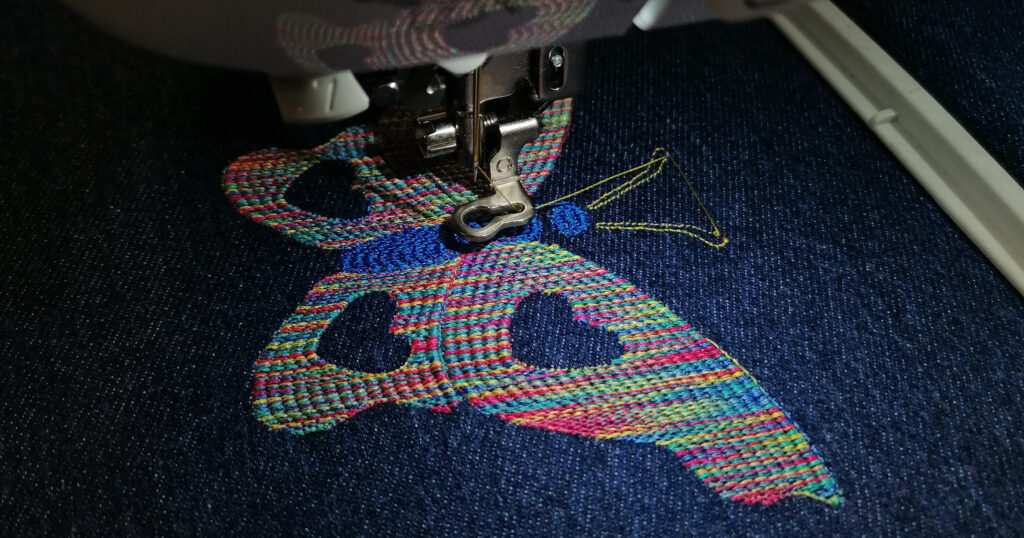
Stitching out the butterfly pattern

Finished embroidery


Leave a Reply