

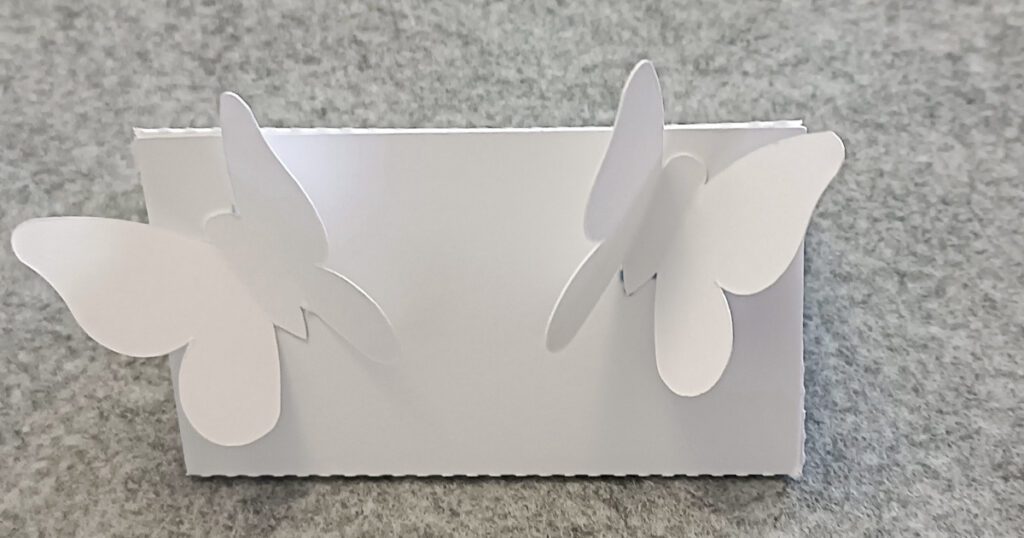
Required Materials
- Paper Glue
Tools
- Pen
How to Process a TurtleStitch Coded Design for a Cardboard Cutter
TurtleStitch is mainly used for programming patterns for machine embroidery, but it can also be used to create cutting templates for plotters. The programming process remains the same, but the path followed by the lines operates on a fundamentally different principle, which is why embroidery designs can’t always be directly used for cutting. However, individual segments that were coded for embroideries can work just fine. The following example was designed in TurtleStitch for a cutting process on a plotter. You can find more of those under the category#plotter
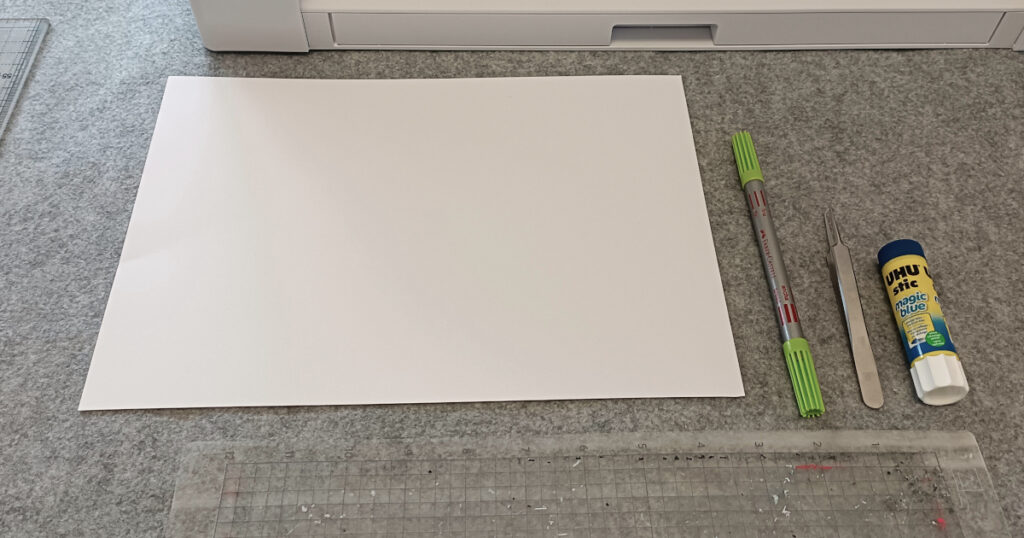
We used the following projects from TurtleStitch in order to create a Name Tent:
- Basic structure of the name tent from user Simon Mong
- Motif of a Butterfly from user Elaine Wolfe
You can either program a linear design in TurtleStitch yourself or – as we did it here – start with an existing design. Once the coding is done, run the program to view the design in the “Stage.”
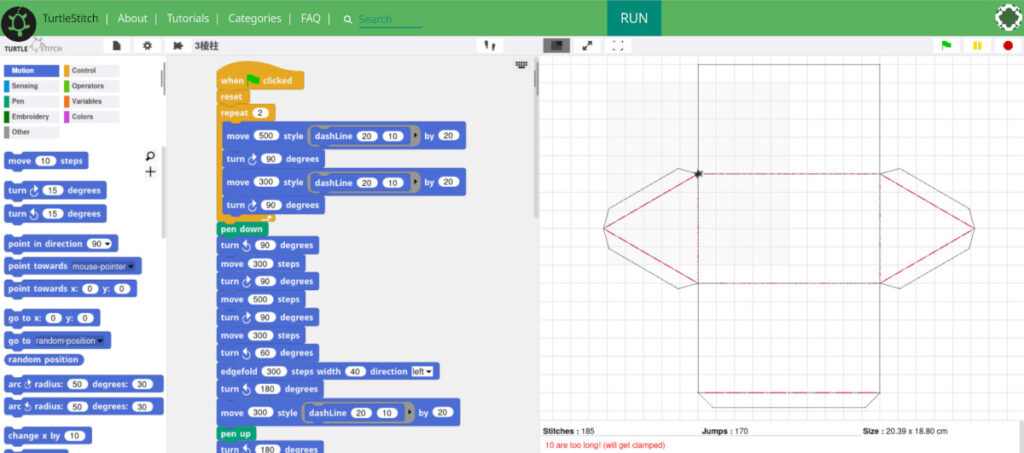
Loaded and “run” code in TurtleStitch
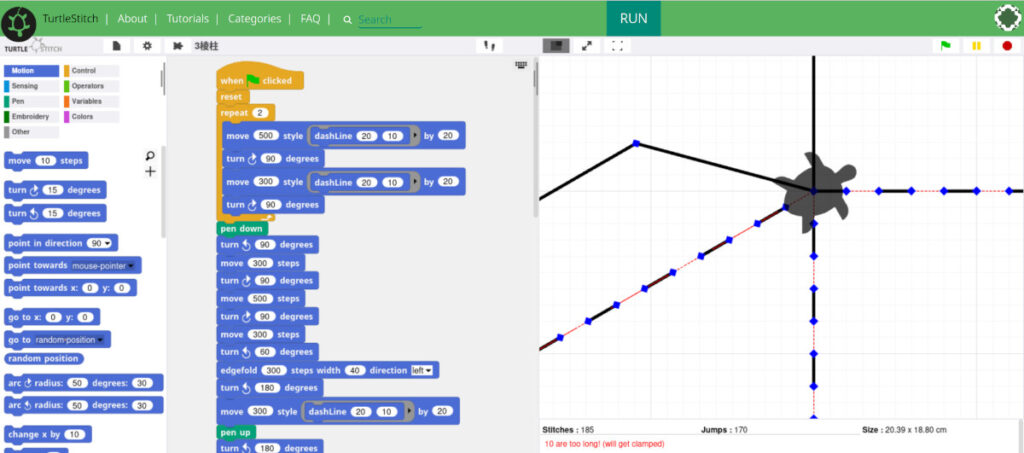
In this example, you can see not only continuous lines but also dotted lines. These cuts work like a perforation, which means they can be easily folded without being fully detached.
Export as a DXF File
Once your design is ready, export it as a DXF file for use with a cutting machine.
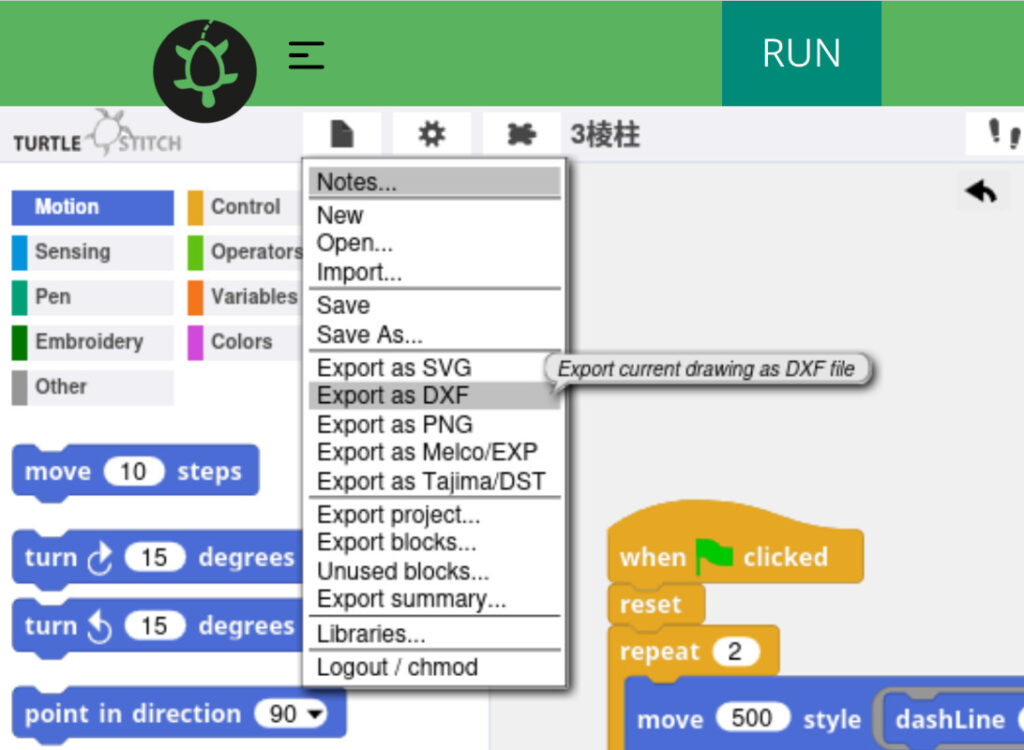
In the TurtleStitch File menu, select “Export as DXF” for a paper cutting machine.
Import into the Silhouette Software
We used a Silhouette cutting plotter with its free software version. The DXF file can be imported, but you’ll need to check that the size of the design is correct. In the Silhouette software, you can use the “Transform” tool to adjust the scaling if needed:
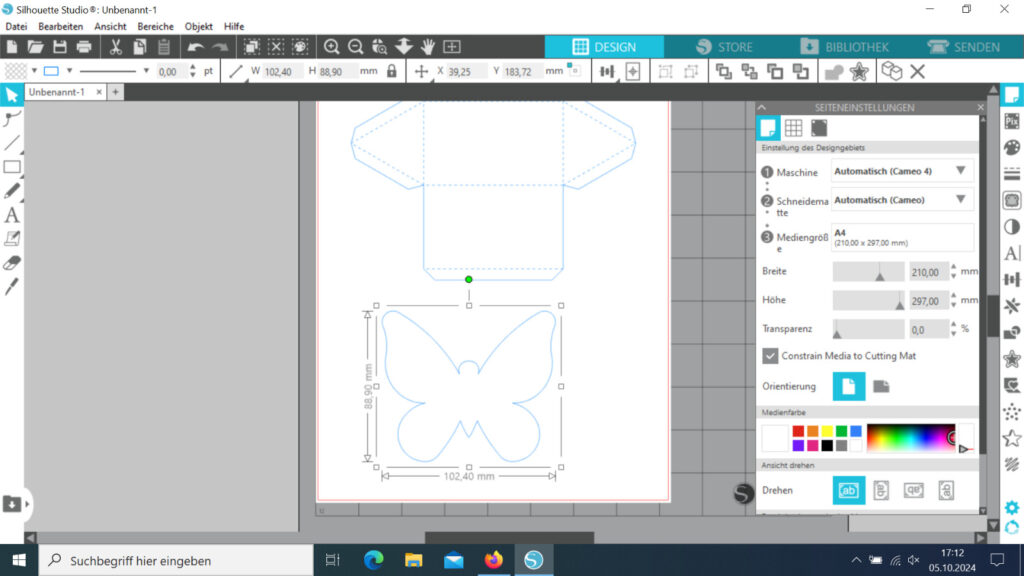
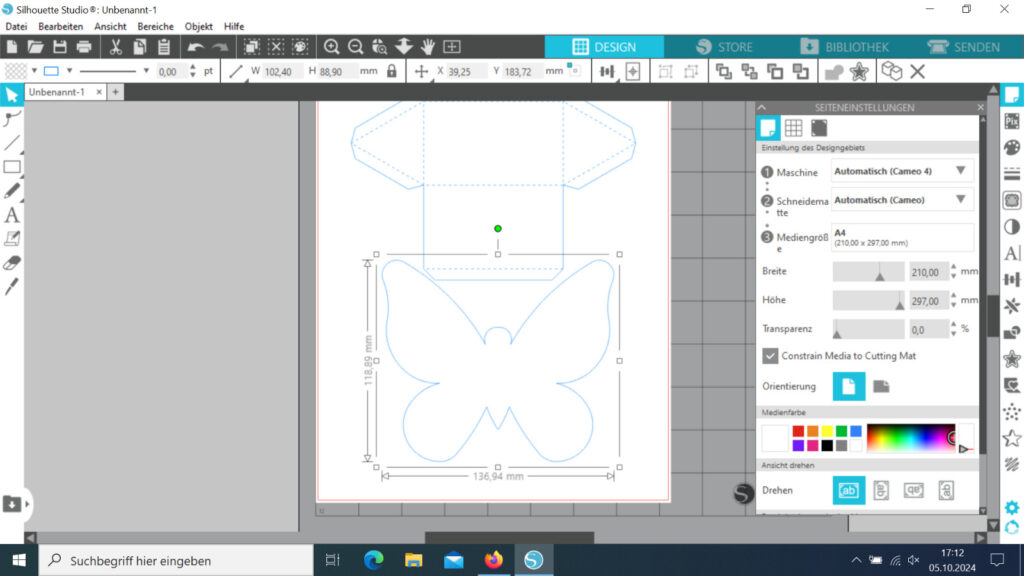
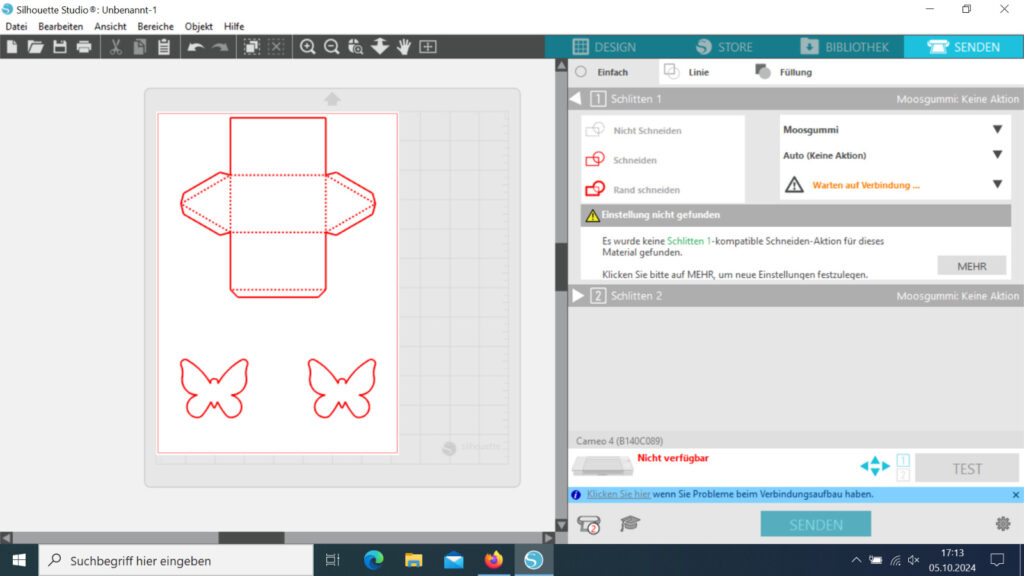
In the Silhouette software, switch from “Design” to “Send,” and adjust the blade settings to match the material thickness:
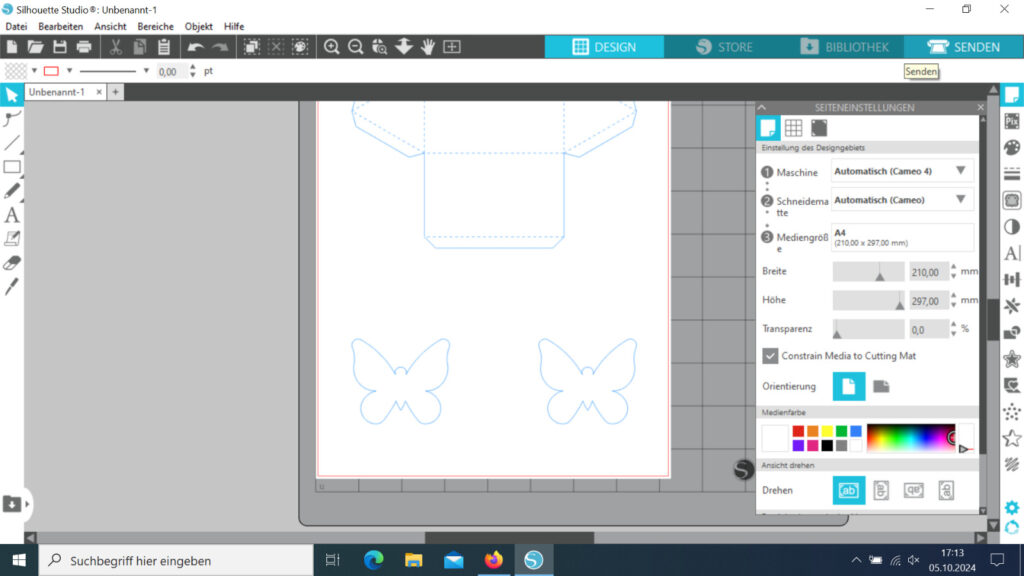
Cutting Process
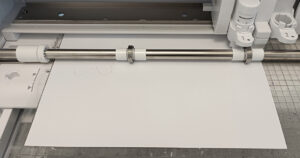
Next, position the material to be cut, and start the cutting process.
Tip: We usually avoid placing the design too close to the edge of the cardstock.
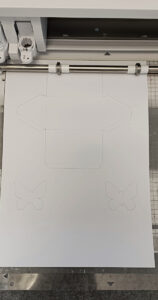
Once the cutting is complete, begin peeling off the material. Depending on the design, using tweezers might help.
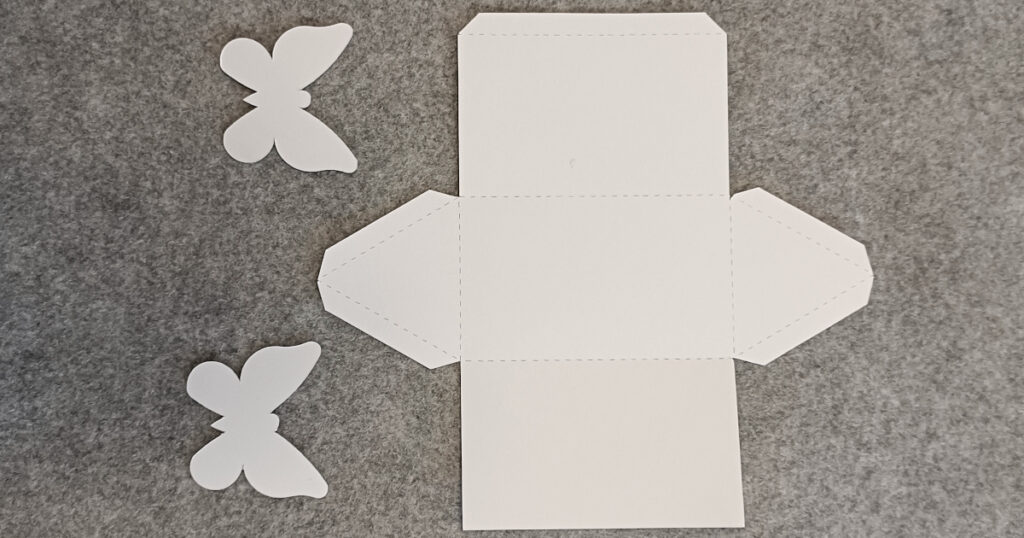
In our example, we then prepared the folding, which was fixed with paper glue.
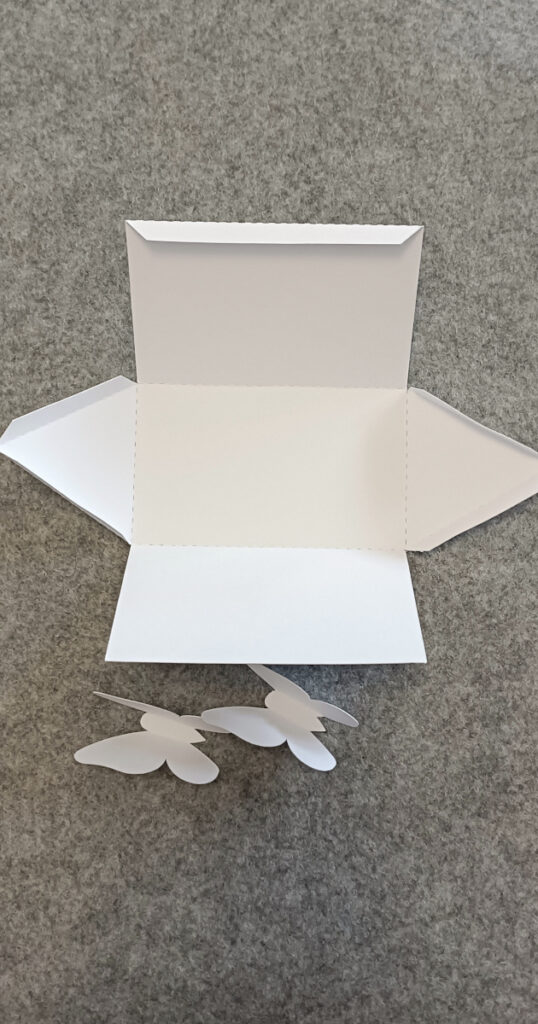
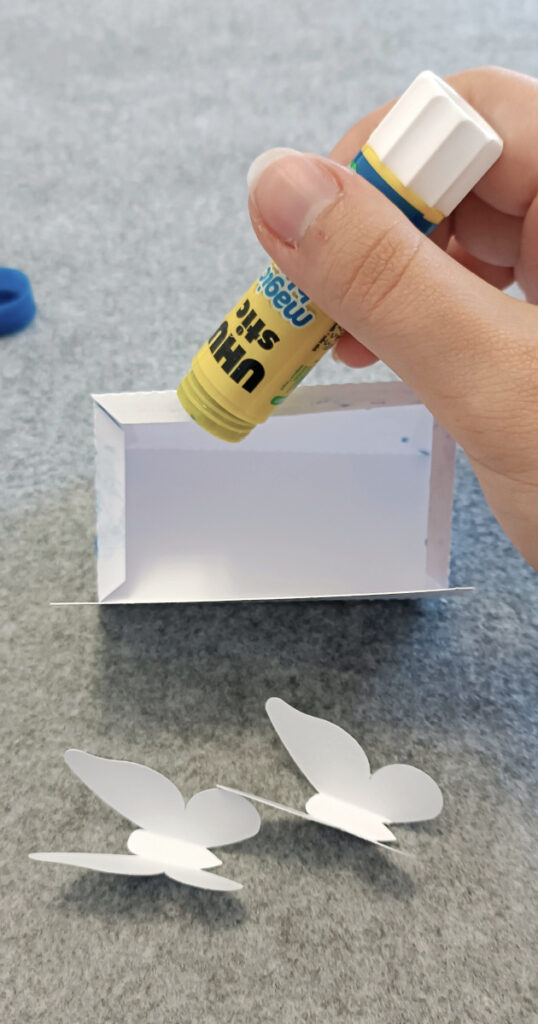
Finishing up
The text can be added either before folding and glueing or afterward, as in our case.
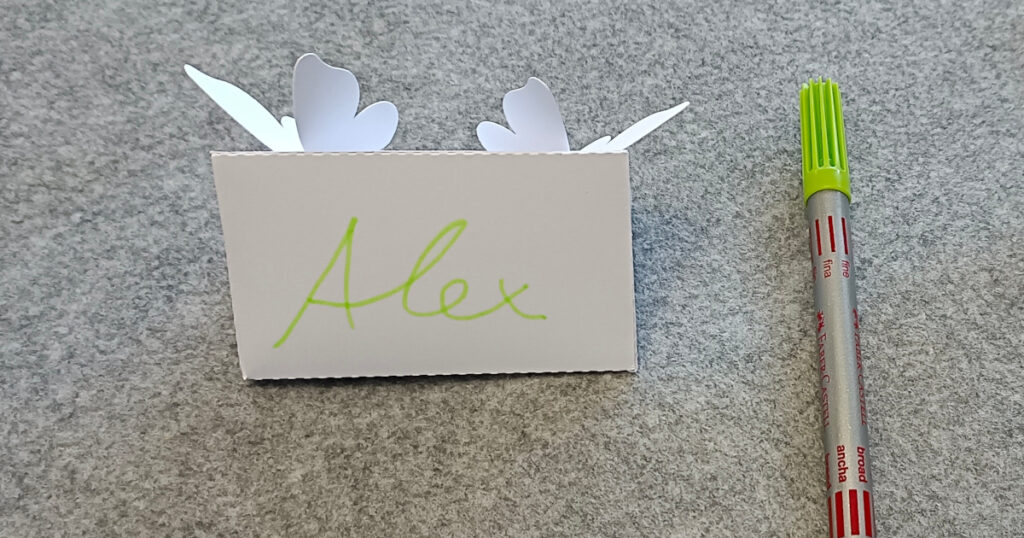
As already mentioned above, this project is based on a cutting template by Simon Mong and is inspired by the amazing papercraft artwork of Elaine Wolfe, whose works can be found at https://turtlestitch.blogspot.com/.
We hope this example on using TurtleStitch with a Silhouette Plotter provides a basic understanding of the main steps. Thanks to Anika K. for her expertise in plotting and executing this tutorial.
Leave a Reply