

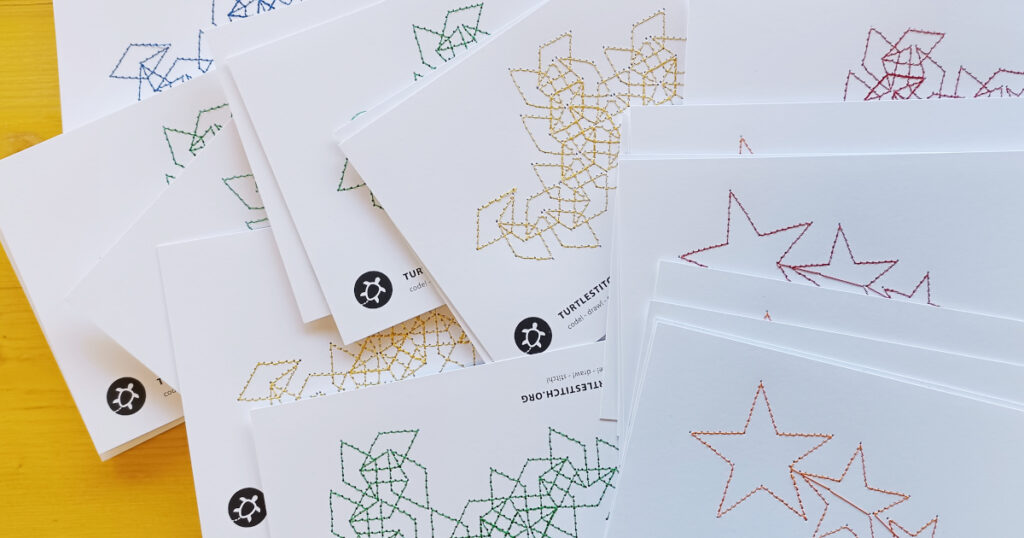
This blog post explains how we produce a batch of embroidered postcards using a specially adapted paper embroidery frame.
Required Materials
- Double-sided adhesive tape
- Adhesive tape
Tools
- Optional: second embroidery frame
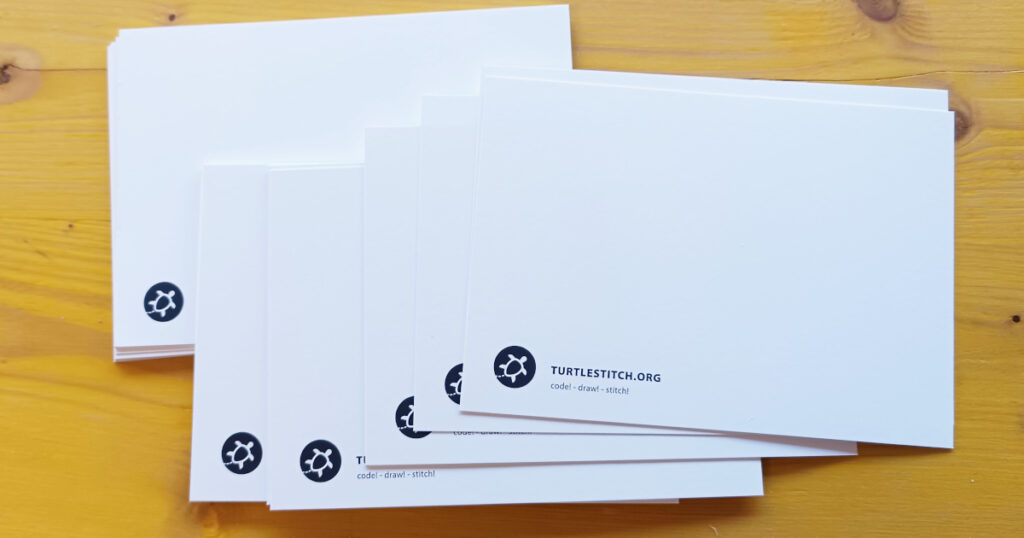
These are our blank postcards
The main challenge is that embroidery frames are meant for fabric, which has very different properties compared to paper. Trying to clamp paper between the inner and outer frame would cause it to tear or break.
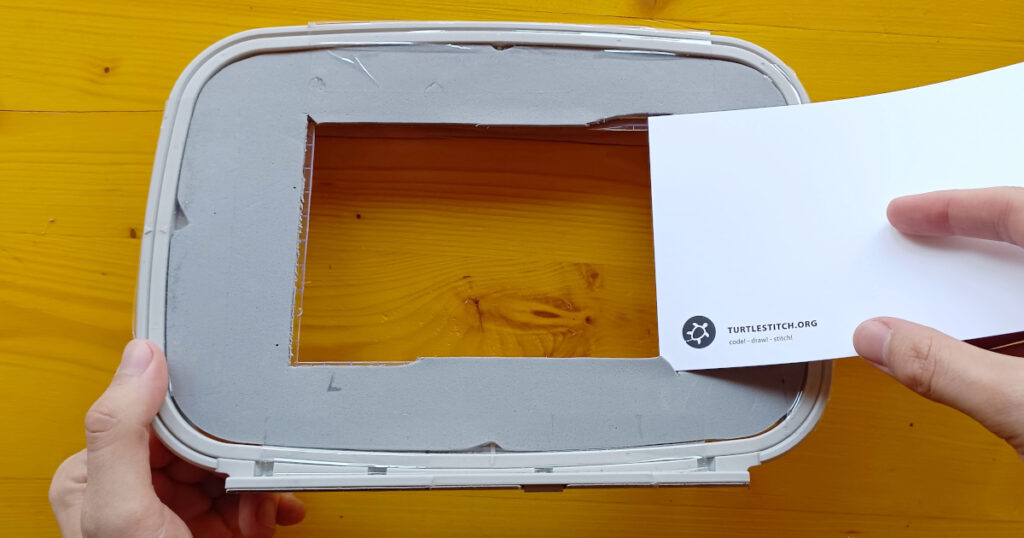
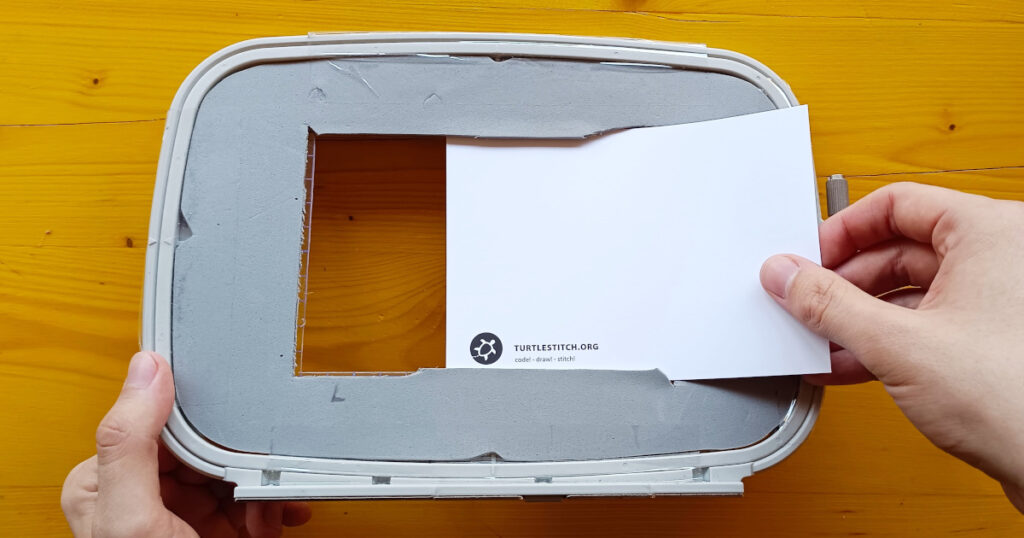
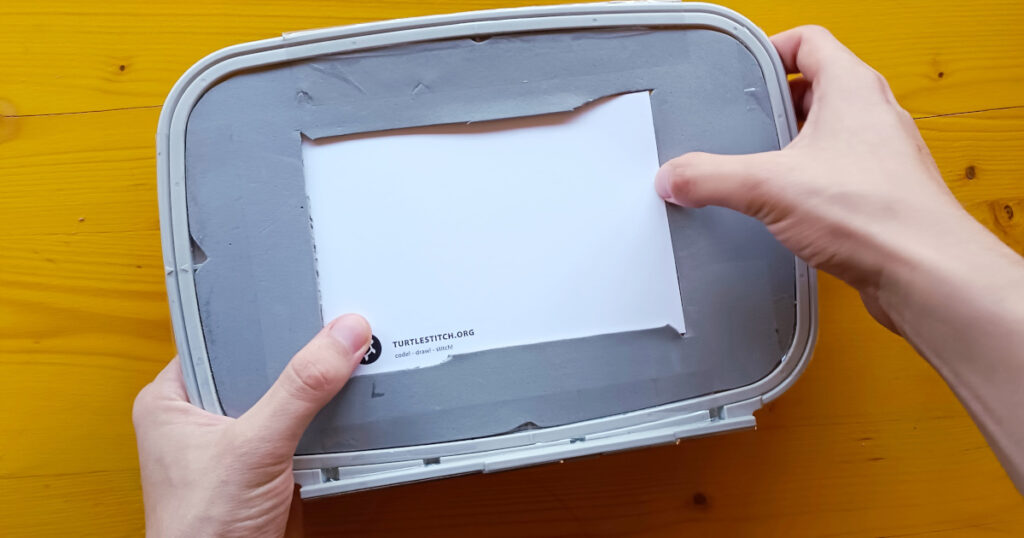
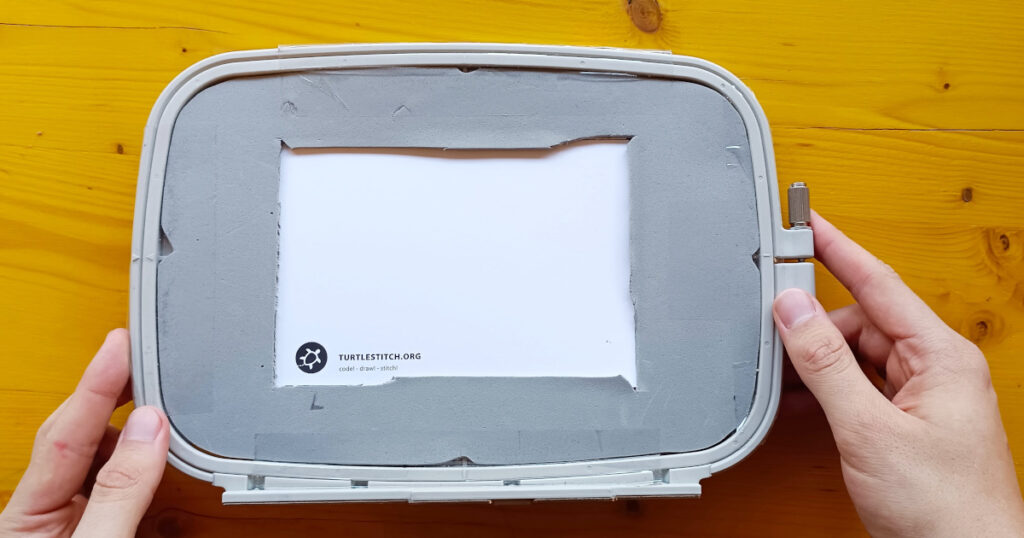
To embroider small postcards of a specific size, we designed an embroidery frame that holds the postcard securely during stitching and allows easy removal afterward. To make this solution more permanent, we bought another standard embroidery frame and modified it for postcard use.
The frame is made up of two layers of material with a cut-out section (similar to a passe-partout), which are adhered together using double-sided tape. The cut-out is slightly smaller than the postcard itself.
On the top layer is foam rubber, which is flexible and allows you to pull back out the right edge after inserting the postcard. The back layer is made of a more stable plastic sheet. The postcard is held securely in place by the double-sided tape that attaches the plastic base to the foam covering. This “sandwich” construction is then attached to the embroidery hoop using strong adhesive tape on all sides.
There are several important factors to keep in mind when selecting patterns for this embroidery technique.
First, the stitching should not be too tight, as each needle puncture acts like a perforation on the paper. If the stitches are too dense or there are too many, the paper’s structure could weaken and tear.
Positioning patterns on some embroidery machines can also be challenging. It’s recommended to first embroider the pattern on fabric to determine its exact placement. Since you know your machine best, you’re familiar with how it handles positioning. On our machine, for instance, rotating a design on the machine’s display changes the outer boundary box and reports larger dimensions. In such cases, a test embroidery is ideal.
Alternatively, if you know how to move the needle without stitching, you can use that method to check whether the design is positioned exactly where you want it. Once we’re satisfied with the position, we save the pattern and settings directly on the machine, so we don’t have to repeat the process next time.
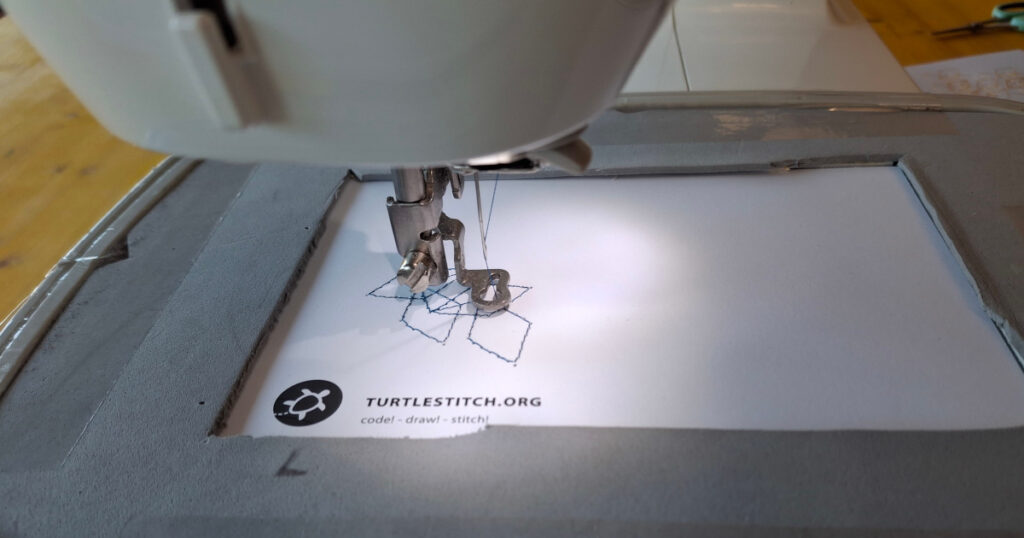
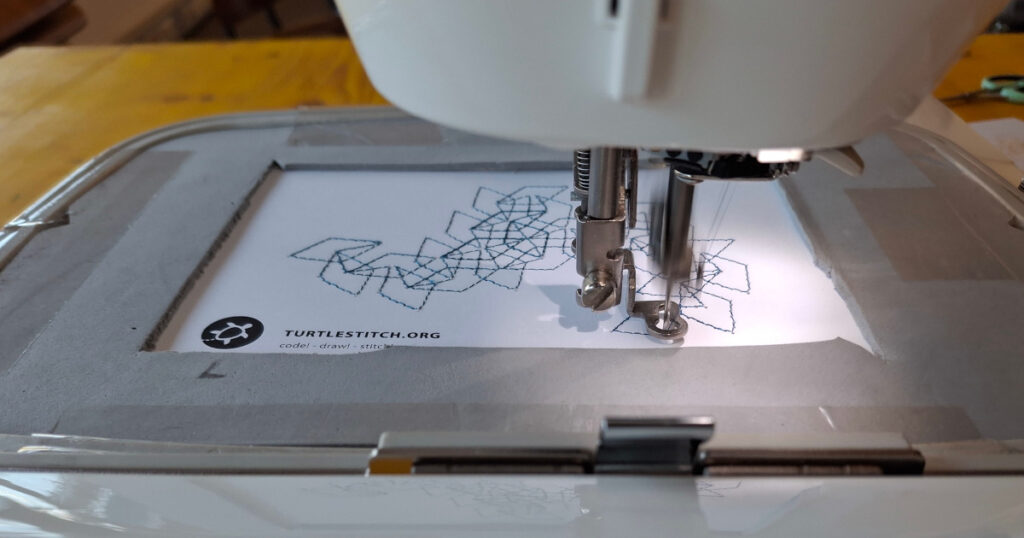
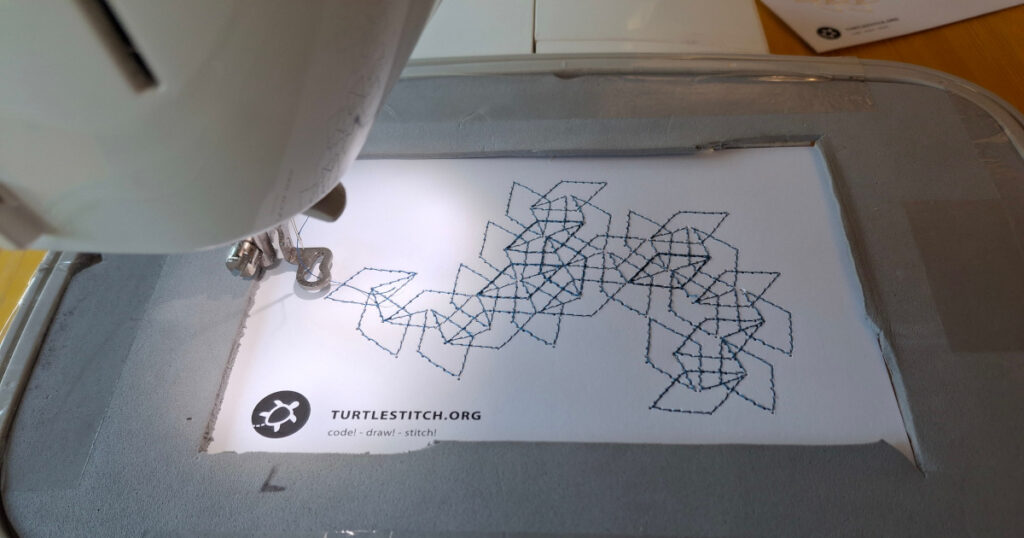
Although this is a “hack” solution for producing embroidered postcards, we’ve been quite pleased with the results. We’ve used this method to produce several hundred postcards so far.

Leave a Reply